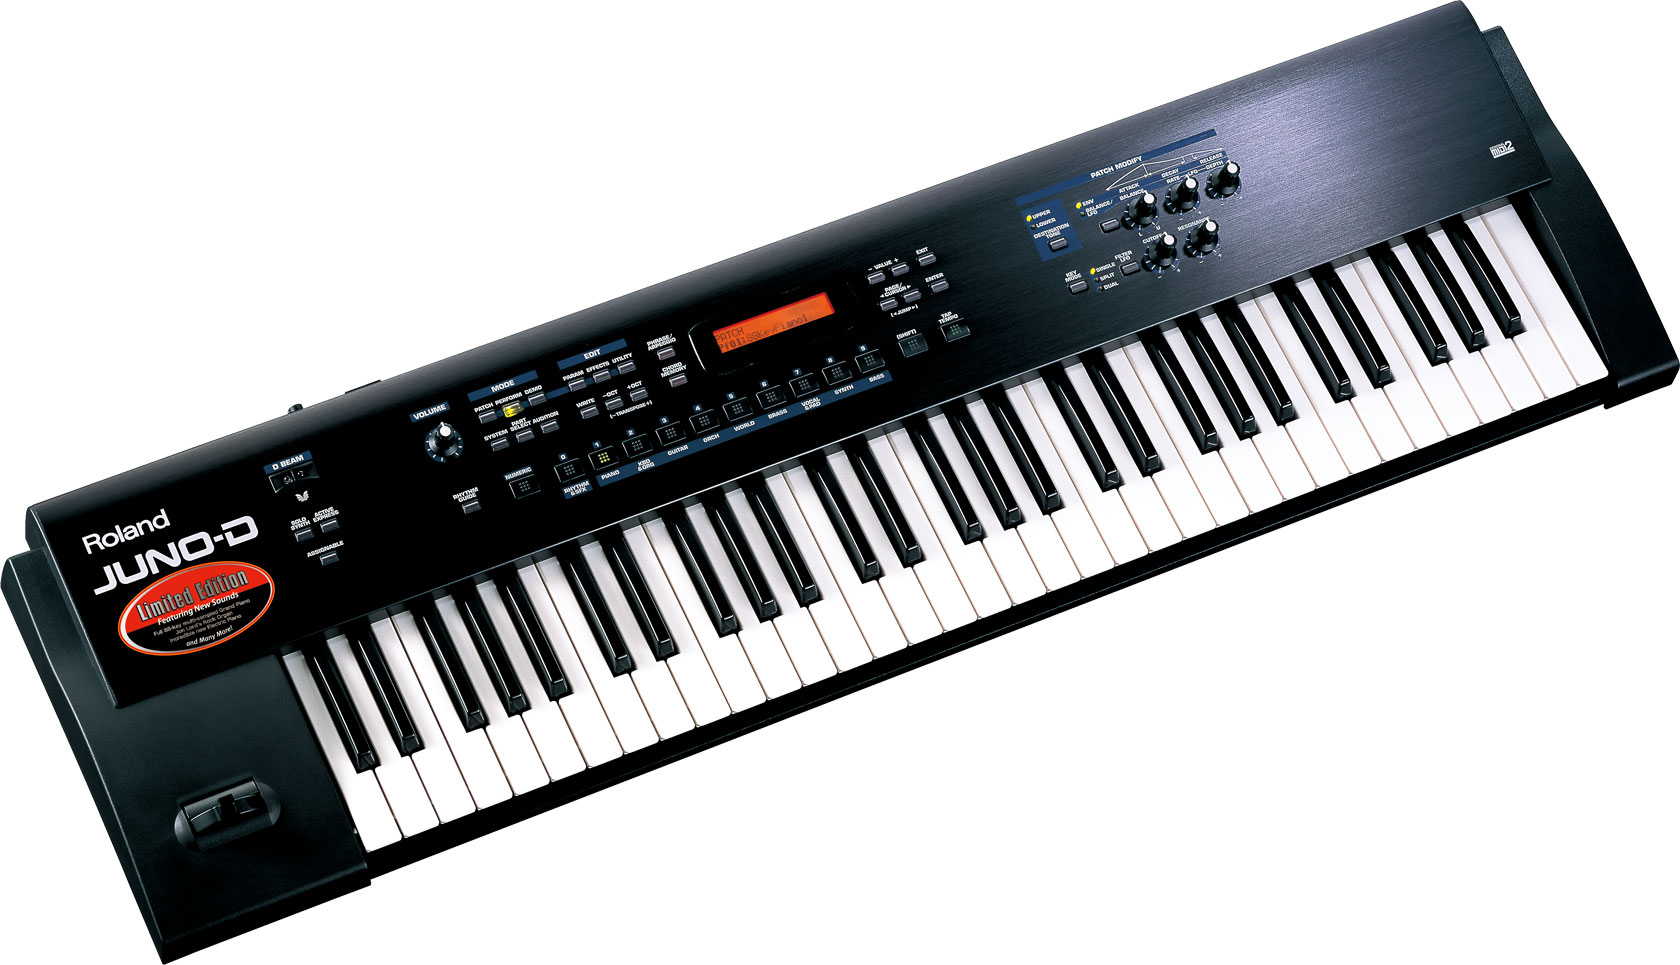
Roland Juno D
Successful repair of a Roland Juno D

Last year I purchased a Roland Juno D for almost nothing. Physically in very good condition, the synth engine is working when driven by MIDI. But evidence of a liquid spill inside the casing lead to a barely working keyboard and the death half of the tact switches. Some screw were missing, probably a former cleanup attempt.
Boards and keyboard
There are 4 boards inside the Roland Juno D: the main board with highly integrated custom chips (SMD mounted), 2 boards for the front panel with thru hole components, and the power regulation board (the PSU is external).
On the front panel board, the button are standard tact switches from Alps, but with 2 legs.
The very lightweight keyboard is connected to the main board with a 2 x 8 pin connector. It can be removed quite easily, and the synth can still boot and work via MIDI. I've read somewhere it comes for Fatar, but the PCB is labelled Roland. The contacts are dual contact carbon rubber.
Cleaning
I cleaned the tact switches with a standard cleaning contact spray (such as Deoxit D5). However, the spray only was not enough; I had a better result by fixing a piece of rubber band to the tip of a stick (actually the body of a pen), and then put the stick in my cordless drill. I was able to spin the actuator of each tact switch, achieving a more efficient cleaning.
Removing the keys is easy: simply remove the spring on the back with a pair of pliers, and pull the keys from the front. Springs are different between white and black keys. Remove the white keys first, then black keys. Take care of the small rubber bushing. Pretty dirty job due to the generous amount of grease Roland put on the bushing. The keys are cleaned in lukewarm water with dish soap. The cleaning of the keyboard carbon contacts was achieved simply with Q-Tips and isopropyl alcohol. However, three cleanups were required to have a perfectly working keyboard; I had to remount the synth between each cleanup to test the contacts. To reassemble, put the black keys on first. Take care not to trap the front stop under each key between the 2 layers of felt.
Finally, the case was cleaned under running shower with dish soap and a gentle brush, and dried with hand dryer.


Comments